
Team

Manage the staff who work in your business and what they can access.
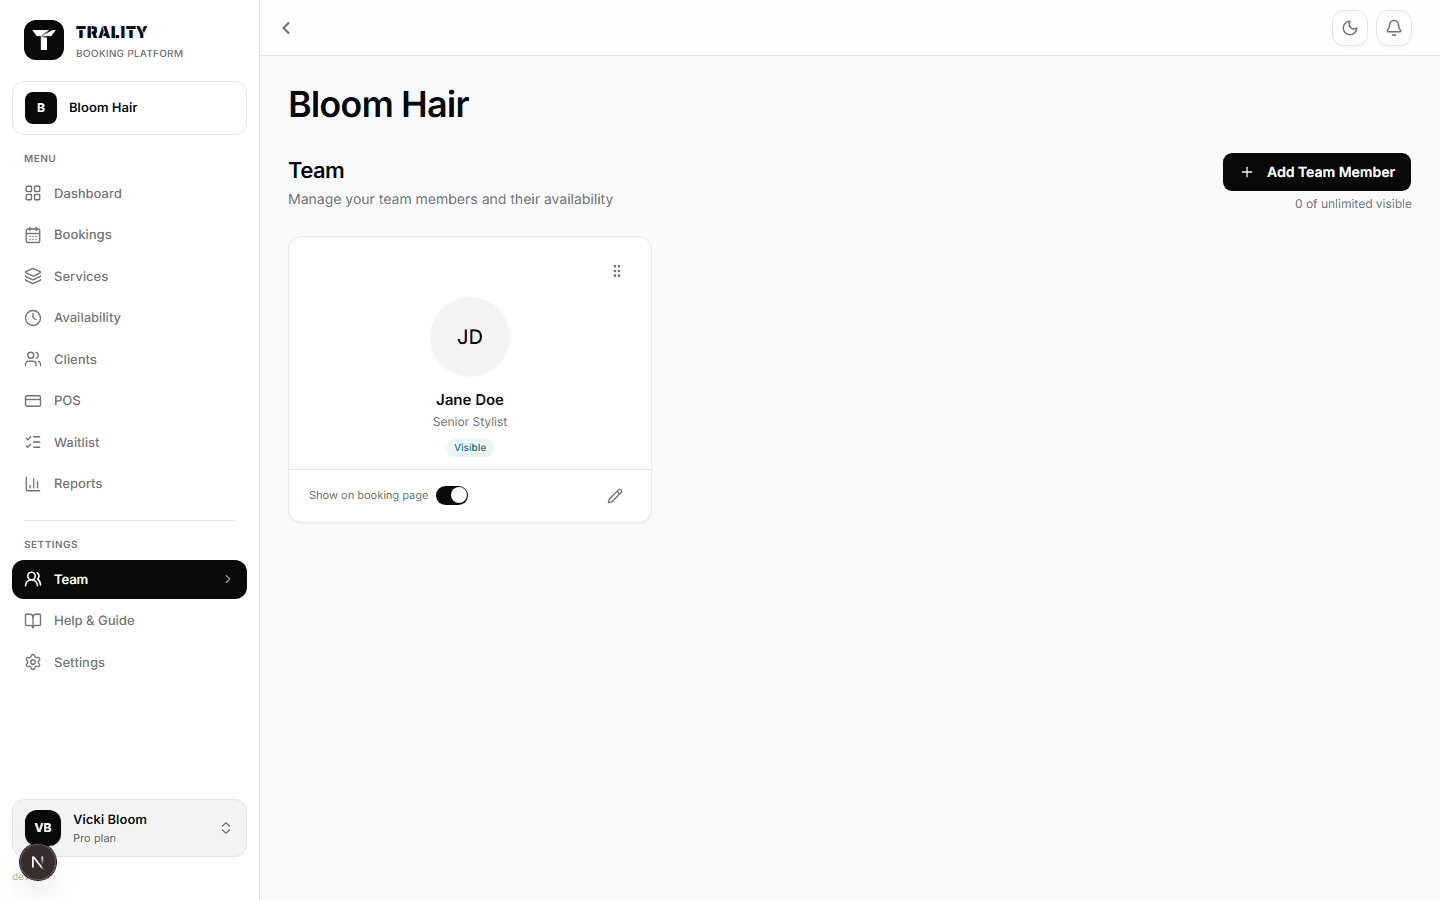
Team screen

What you can do here

  • Add team members, with a photo, title and mobile number
  • Choose who appears on your booking page, and in what order
  • Set which services each person performs and their working hours
  • Invite them to log in, and set what their role can reach
  • Give them a POS PIN so sales record under their name

What's on this screen

The roster

Everyone who works in the business, in the order they appear on your booking page — drag a card to change it. Each shows their photo or initials, name, title, and whether they're visible to clients.

Show on booking page

The switch on each person controls whether clients can pick them when booking. Turn it off for someone who works behind the scenes; their bookings and hours are untouched.

Details

Name, title, photo, email and mobile. The mobile is internal — for your roster and reminders to staff, never shown to clients. The email is also what an invite is sent to if you give them a login.

Services

Which services this person performs. Clients booking those services can choose them; anything unticked simply won't offer them. This is also what auto-assign uses when a client doesn't pick anyone.

Availability

Their working hours, day by day, sitting inside your business hours. The same hours can be edited from the Availability page by selecting them there — it's one schedule shown in two places.

Access — invite and role

Send an invite and they get an email to set a password; until they accept, they have no login. Their role decides what they can reach once they do — roles are defined under Settings → User permissions. You can resend or revoke an invite here at any time.

Access — POS PIN

A 4–6 digit PIN lets them sign in to the register on a shared terminal so sales record under their name. Five wrong attempts locks the PIN for a few minutes. Clearing the PIN stops them ringing up sales as themselves.