
Settings
Configure your business — profile, notifications, payments, questionnaires, integrations and billing.
What you can do here
- Edit your business details, ABN, time zone and social links
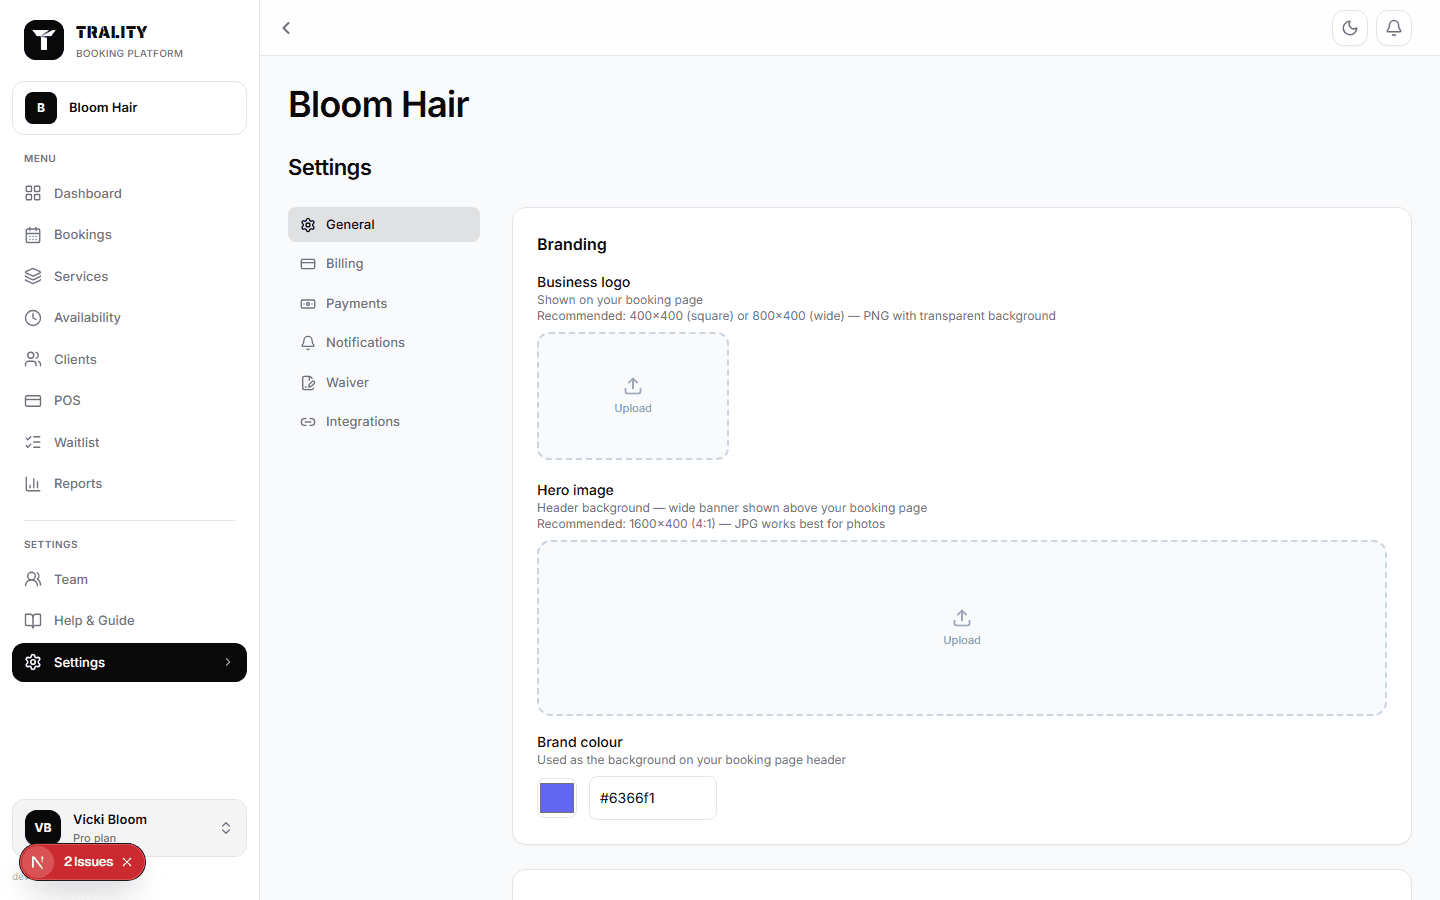
- Design your booking page — logo, hero, brand colour, gallery and rules
- Manage your plan, usage and invoices
- Connect Stripe and set deposit defaults
- Choose which emails and texts go out, and to whom
- Build intake forms, connect calendars and set roles
What's on this screen
Finding a setting
The tabs down the left group everything; the search box at the top jumps straight to a field if you know what you're after. Changes aren't live until you press Save on the bar that appears at the bottom — Discard puts everything back.
Business
Your name, business type, tagline and the longer About text clients read on your booking page, plus contact email, phone, website and address. ABN and GST show on receipts — tick GST registered if your invoices need to say so. Time zone drives every booking, reminder and report, so it should match where you actually work. Social links appear in the About section of your booking page; leave one blank to hide it. At the bottom sits deleting the business — permanent, and it takes bookings, clients and sales with it.
Booking page
Branding — your logo, a wide hero image behind the header, and the brand colour used for buttons and highlights. Photo gallery — up to six photos shown as a carousel. The first is the main image; drag to reorder. Booking rules — a short message at the top of the page; Require approval, which holds new bookings as pending until you confirm them; the Specials tab, which surfaces services currently discounted; and Auto-assign, which picks the least busy team member when a client doesn't choose one. Booking page address — your public link, with Copy link, Change URL, and the embed code for putting a booking button or a services widget on your own website.
Billing
Shows your current plan and what it costs, when it renews, and your usage against the plan's limits — team members, services and bookings this month. Change plan compares Free and Pro. Stripe billing portal is where card details, tax IDs and receipts live. Invoices are pulled live from Stripe, so a refund or a card change made in the portal shows here on the next load; each row has a PDF. Cancel subscription stops billing at the end of the period — your data stays, but you can't take new bookings.
Payments
Connect Stripe to take money when clients book or at the counter. The status panel tells you whether you're connected, part-way through onboarding, or not started — with a link into your Stripe dashboard once you are. Booking defaults set what new services do by default: whether a deposit is required, and whether it's a percentage of the price or a fixed amount. It's only a default — each service can override it.
Notifications
A grid of the four messages Trality sends — booking confirmation, reminder, follow-up and cancellation — with three switches each: email to the client, a copy to you, and SMS. Reminders and follow-ups also take a timing: how many hours before the appointment, or after it ends. SMS credits shows what's included in your plan and what you've used. Clients must opt in to SMS separately, and a reply of STOP unsubscribes them automatically.
Questionnaires
Intake and consent forms clients fill in before their visit. Build a form here, then require it on the services that need it (Services → the service → Booking). Each form is answered once per client and reused on later bookings.
Integrations
Calendar sync connects Google or Outlook so personal commitments block out your Trality availability and your bookings appear in your own calendar. Each row shows when it last synced, and sync can be paused without disconnecting. Import from Fresha brings clients, services and upcoming bookings across from a Fresha export. Existing records are matched on email rather than duplicated.
User permissions
Roles and what each can reach, area by area. Owner is fixed — full access to everything, and it can't be edited or removed. Create a role, name it, and set each area to No access, View or Full; changes save as you click. Assign roles to people on the Team page.
